When my daughter was young and in dance classes, I remember how distressed I always was at trying to get her hair to stay in the ringlets that they wanted them to have for recitals. I did my best with a combination of products and different types of curlers and irons. Every single time the curls fell by the time she got to the actual recital.
Fast forward to this year when Jillian made the show choir. All of a sudden she was going to have to have “show choir hair” for each performance, which consisted of lots and lots of long ringlet curls. To make matters even worse, the curls had to last from 4 in the morning until midnight…and through a bus ride and multiple performances! I was in a panic.
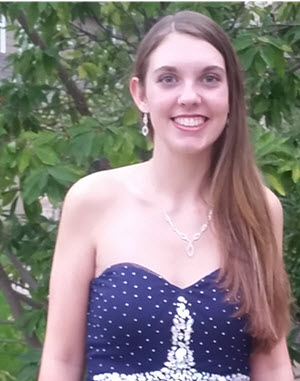
For the first couple of concerts in the fall I tried a variety of curling irons and rollers. The hair always started falling within hours. Then a couple of different moms suggested that I check out Curlformers. What?? I’d never even heard of them! For reference, this is how Jillian’s hair USUALLY looks:
And this is how I got her hair with Curlformers:
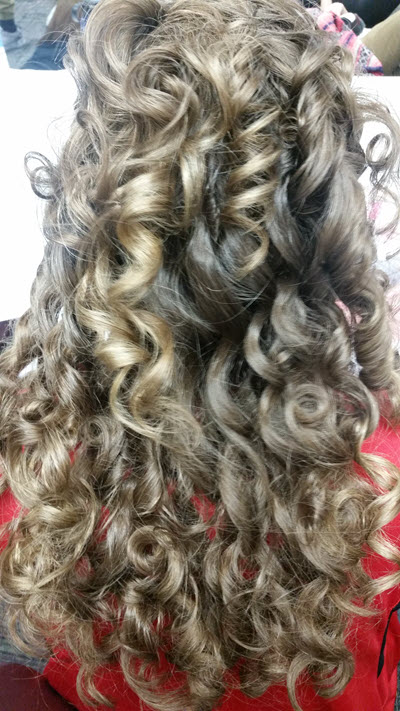
The really amazing thing about this is that I didn’t even take this picture right after I did her hair. I forgot to get a picture of it early in the morning (when she had to leave by 5am) and didn’t get the picture until about 8 hours later after she had already ridden the bus to the competition, run around the school, and took a nap. This is how her hair looked when I finished it in the morning and how it looked when she got home at midnight that night. Even the many hair flips in her routine did nothing to ruin the look!
How Do Curlformers Work?
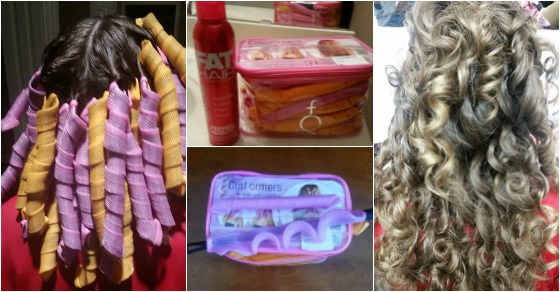
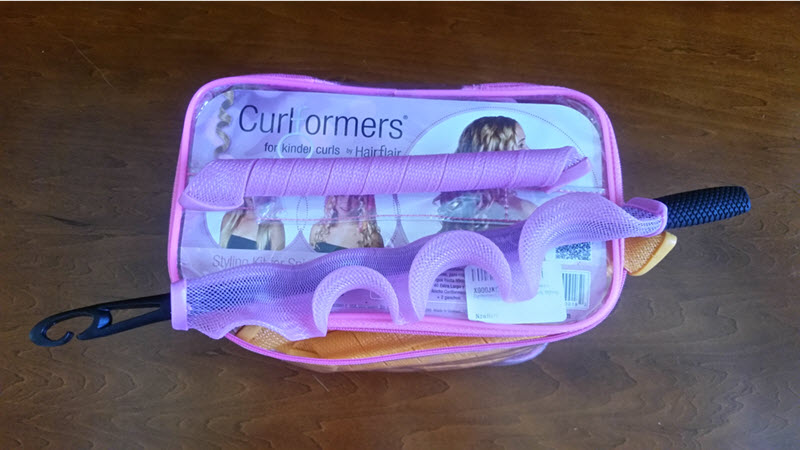
Curlformers are not normal curlers. Rather than the hair rolling on the outside of the curler, the hair goes into the curler. You pull a hook through the mesh curler and then use it to bring the hair inside the mesh. When you let go, it springs into a spiral and the hair stays on the inside.
There’s a little bit of a learning curve but once you figure it out, it’s actually pretty easy to do. You just have to be sure that you have the right curler length for the hair and that you are not putting too much hair in each curler (doing so results in the little curly-que that you see at the bottom of Jillian’s picture.
My Curlformer Process
Because she had to leave so early every Saturday morning, we did this routine the night before.
- Wash hair and then add a setting gel
- Let dry until it’s just damp enough that you can’t see dry hair yet
- Roll the hair into the Curlformers (it’s easiest with 2 people, especially with really long hair)
- Sit under a dryer to get them warmed up (optional)
- Put on a silk cap and go to sleep (it was easier than she thought it would be)
- Wake up and remove the curlers
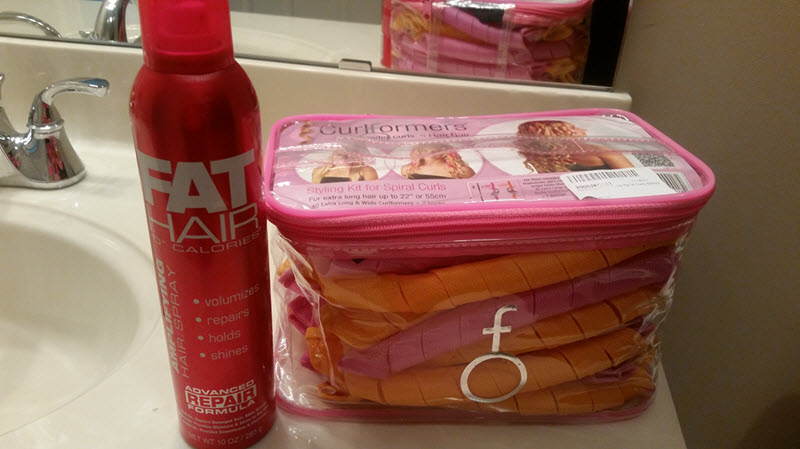
- Spray with a thick hairspray (we used Fat Hair)
Jillian’s hair is an extreme case because it is so long and so fine. You could probably cut back on some of the steps or the time spent with shorter or thicker hair. Also if you only needed it to stay curled for 6-8 hours as opposed to the 19+ hours that we needed.
Are Curlformers Worth the Money?
Curlformers are definitely more expensive than other foam or rubber rollers. However, I have found them to be well worth the investment. They have not shown any sign of wear and tear the whole year that we have used them. You can start with a basic pack and add on if you want. A Styling Hook and pack of 10 will run you about $23. A full kit including 2 hooks and everything you need for a whole head is around $69. But if you are like me and want to have something that works that you don’t have to touch up or worry about, they are well worth it.
I only wish I had known about these years ago. We could have been getting use out of them for dance recitals, choir concerts, Homecoming dances, and more!

Leave a Reply